A paver patio is a great way to add both beauty and functionality to your yard. With a virtually endless variety of colors, shapes, and textures, concrete pavers provide you with the options to design your yard and make it truly your own space. And the cool thing about concrete pavers is that you can install them yourself.
Unlike pouring concrete, anyone with time, patience, and the proper tools, can lay a paver patio, walkway or driveway over the course of a few days. The task may seem pretty daunting, but there are plenty of valuable resources on the internet that can walk you through step-by-step instructions on paver installation to help make the process go smoother. Mutual Materials includes installation instructions on all of our concrete paver tech sheets and offers a dedicated page with set of instructions for laying pavers atop bedding sand.
However, the more information one has before starting their project the more confident they will feel before putting that first shovel in the ground. That’s why we’re excited to share a new video tutorial from Bring Your Own Tools (BYOT) that shows a paver patio installation from the area excavation all the way through the final step of sweeping sand into the paver joints. And unlike most of the instructions you’ll find online, this tutorial covers a lot of small details that one should consider when installing pavers, like adjusting the paver height for staircases, cutting pavers to fit around gas lines, and accounting for slope to move water away from a house.
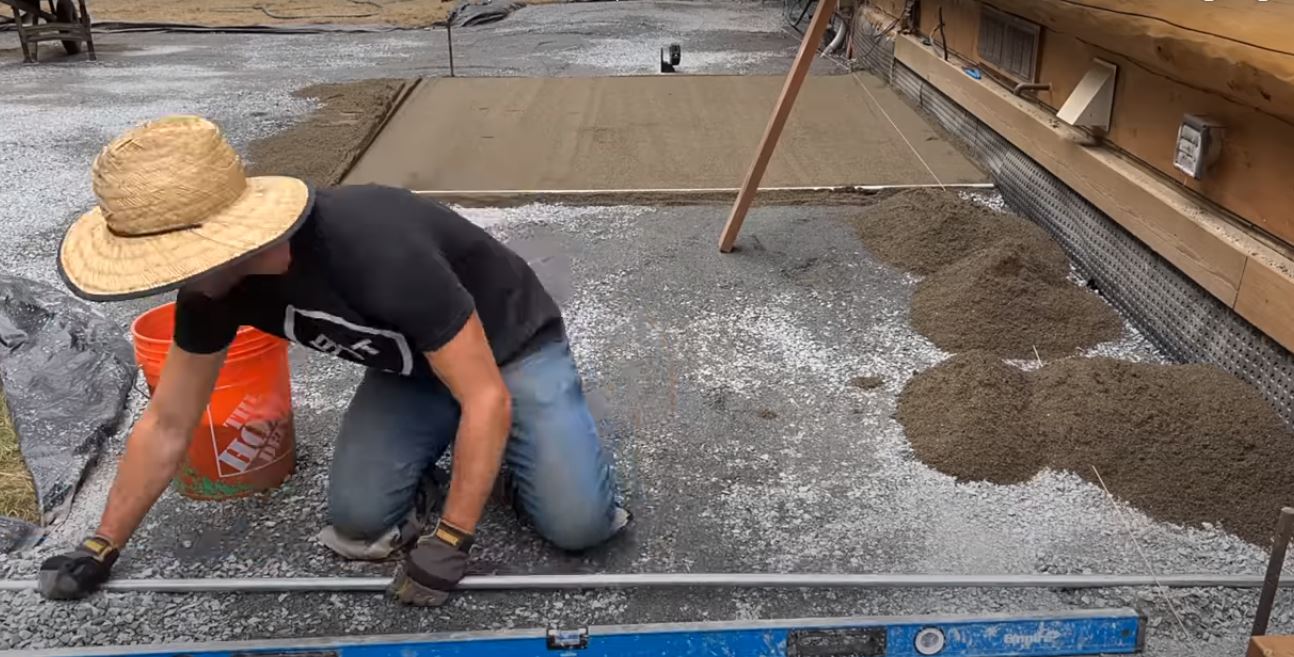
Broken up into two parts, the first video covers how to stake out the patio perimeter, excavating the area, planning for utility installation, leveling the sub-base, applying a weed barrier, and adding a crushed rock base. It finishes by discussing base rock compaction and adding bedding sand.

Keep in mind this patio installation was completed by a professional with access to all of the necessary tools. However, we think these videos are incredibly useful for those who want to install their own paver patio. And remember, you can always hire a contractor if your design is complicated or if you just don’t want to get your hands dirty.
Tools you will need for preparing your patio sub-base:
- Shovel
- Rake
- String Line with Level
- Masonry Trowel
- Wheelbarrow
- Stakes
- 1″ Electrical Conduit (x2)
- Strike Board (2 x 4)
- Tape Measure
- Plate Compactor
- Safety Glasses
- Dust Mask
Check out our post on the second video.
Citations
- Bring Your Own Tools (BYOT) YouTube Channel
- Mutual Materials – Columbia Slate Patio Series
- Mutual Materials – Dominion Slate Pavers
Chapters:
Intro
Patio Layout
Lawn Removal
Trenching
Excavation & Leveling
Crushed Rock for Patio
Sand for Patio

